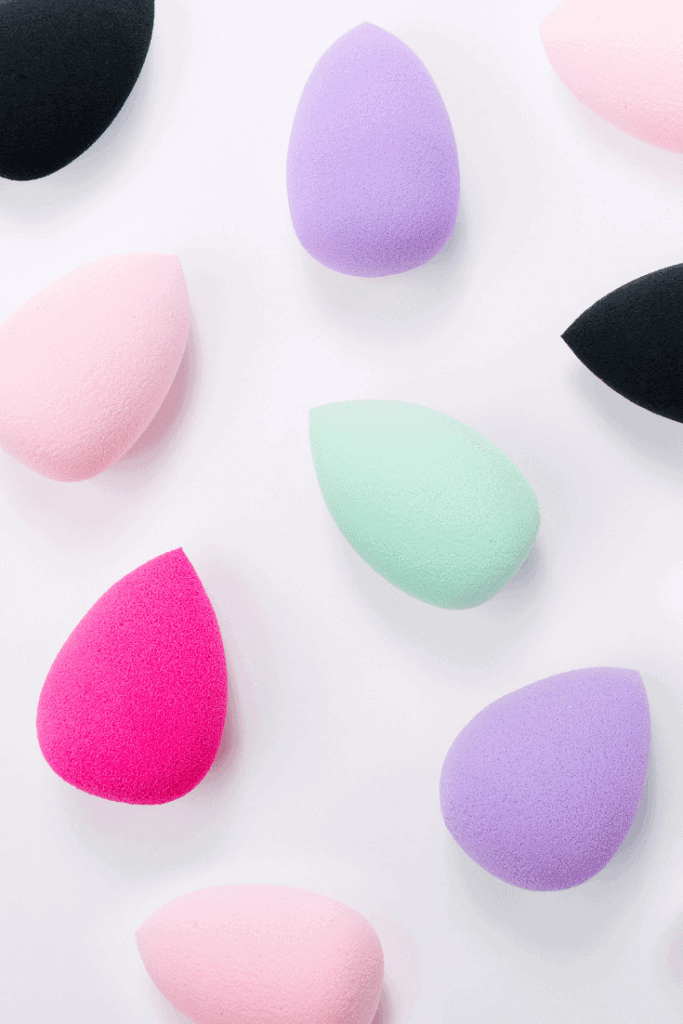
So, you’ve jumped on the Beauty Blender bandwagon and you’re loving the glassy, natural look you can achieve from those adorable little egg-shaped sponges.
But – how do you take care of them?
Because, even if you’re buying Beauty Blender dupes, the cost of those bouncy makeup miracles can add up.
Luckily, it’s as easy as cleaning your makeup brushes.
Why Clean Your Beauty Blender?
Just like your makeup brushes and other makeup tools, the blenders can start to harbor bacteria after use. This is particularly true if they are being stored in a makeup bag, ziploc, or other container that doesn’t allow proper air flow.
While the goal is to clean makeup brushes and other tools often – like once a week if you are using them every day – with a blender or sponge, you should ideally be washing them every time you use them.
If that seems unrealistic, aim for every few uses, which will cut down significantly on how much bacteria can build up. Plus, allowing makeup to sit on the sponge can stain the blender over time.
So, cleaning your blender regularly will keep it in tip-top shape, while also preventing bacteria that can cause breakouts.
How Long Does a Beauty Blender Last?
With regular cleaning and proper use, a blender should last up to 3 months! That’s pretty incredible value if you’re buying one of the more affordable options.
To extend the life of your blender, you can even cut off parts that get stained over time. This will reveal a completely unused part of the sponge and give you more bang for your buck.
How To Clean Your Beauty Blender Sponge:
There are several ways for you to get your blender squeaky clean. I made a short little video of how I do it and shared it on my Instagram. Scroll down for a lot more info:
View this post on Instagram
1. Wash Your Beauty Blender:
Just like makeup brushes or other tools, you can wet your sponge, apply a gentle makeup brush cleaner, rub it around with your hands , and then rinse thoroughly.
There are several affordable makeup brush shampoos, such as this one by Eco-Tools, which I have and use. It lasts forever, is eco-friendly, and has more natural ingredients that are safer for you.
Or, you can spring for the Beauty Blender Liquid Cleanser:
If you travel often, this Beauty Blender Solid cake cleaner is a really easy way to take your cleaner on the go. It works like a bar of soap. You would wet your sponge, rub it on the soap to pick up the product, then scrub like normal.
I’ve used this one before, too, and would definitely recommend it.
2. Use a Gentle Scrubber:
While I would stay away from abrasive scrubbers or even the type of silicone cleaning mats you can use with makeup brushes, you can use a gentle scrubber such as the Beauty Blender Keep. It. Clean silicone scrubber to get all of the makeup off your sponge.
The Beauty Bender Keep. It. Clean also comes with a small Beauty Blender Solid Cleanser, which does make it easier to rationalize the price tag.
Silicone scrubbers like this are naturally anti-microbial, making them super easy to maintain and they last longer.
With great reviews like “perfect” and “exactly what I needed” – it might be worth the splurge.
3. Soak It Real Good:

You can also soak your sponges to clean deep inside the sponge and also remove stains.
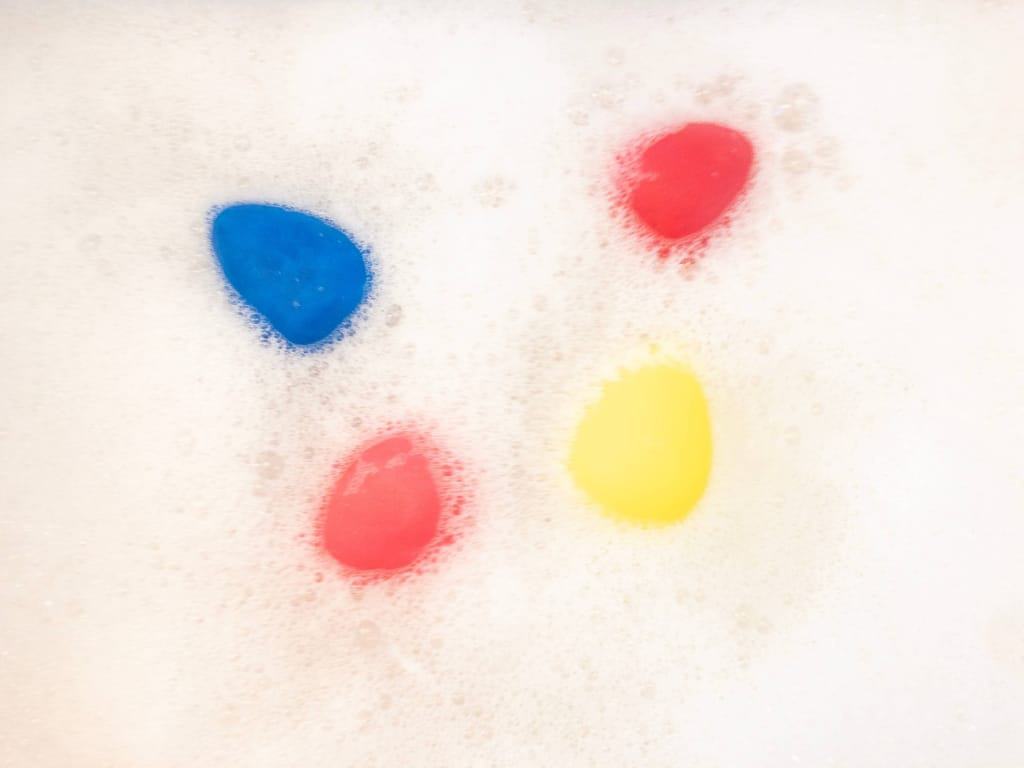
Start with a clean sink, create a little bath with the beauty cleanser, and let your sponges soak for 10-15 minutes.
Then, rinse and dry.
4. Double Cleanse Your Beauty Blender:
Another way to get your sponge squeaky clean is to use the same technique we often do on our faces.
Start with one type of cleaner, or a little bath soak, and then wash it a second time.
Each time you clean the sponge, you’ll be cleaning another layer of makeup off.
This is great if you’re pressed for time and can’t clean your sponges as often as you may like, so when you do – you want
5. Dry Your Beauty Blender Correctly:

The most important part of cleaning your sponge is less about the product you use and more about how you dry and store them.
If you immediately store the sponge in an airtight container, such as a drawer, ziploc bag, or even in a cosmetic bag, the dampness can start to turn to mold.
Or, the wet sponge will start to pick up dirt, bacteria, makeup, etc, from whatever surface you are storing it on.
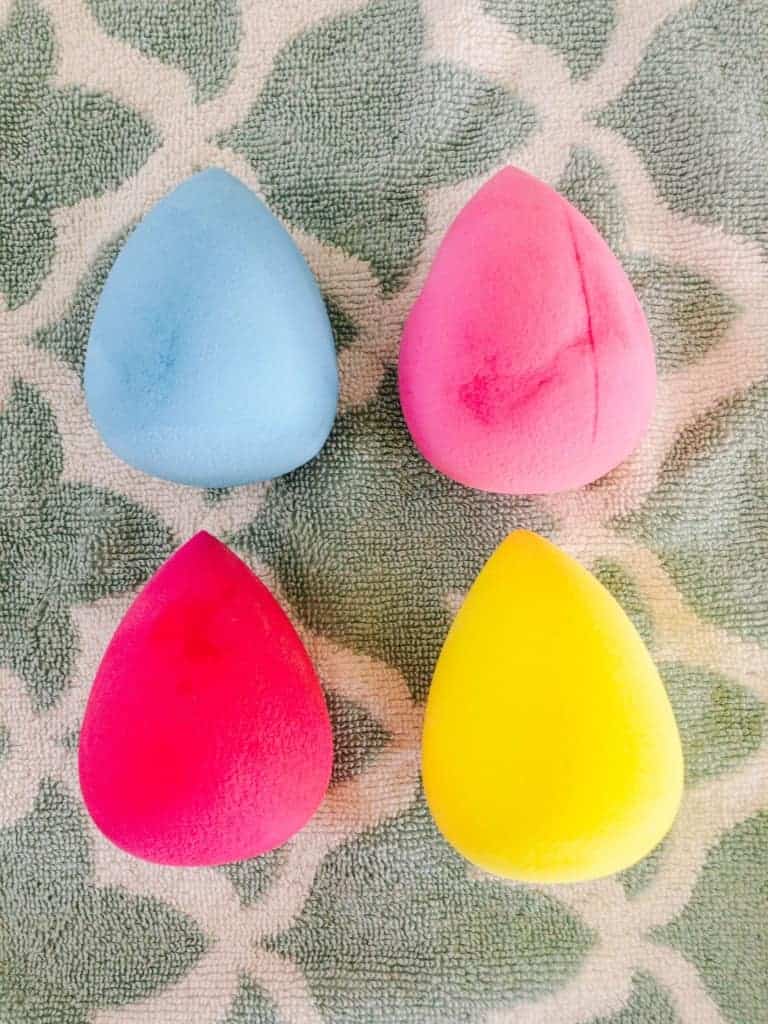
So, this means it is incredibly important that you allow your sponge to dry on a clean surface, where this is good air flow, until it is completely dry.
How To Store Your Beauty Blender:
After your blender is completely clean, you’ll want to make sure to store it in a place where it’ll stay clean, won’t mold and also be accessible for when you need it!
Here are some options for how to store your sponge:
Blenderelle:
This Blenderelle stand would look so cute on your counter and comes in 6 colors!
Drying Sets:
This 3-piece set comes with a travel sponge holder, a counter dryer and a sponge!
Beauty Blender Defender:
Of course, Beauty Blender also has their branded case, The Defender:


Creative Drying Racks:
There’s also some very creative drying racks that might appeal to you. Here are just a few I found on Amazon:
Under $10 and adorable, this kitty cat holder might be more up your alley.
This super affordable sponge stand allows for maximum air flow! Perfect for every day use.
In fact, I just ordered it and will report back soon!
Adorable and so affordable. Check it out here.
How NOT To Clean Your Beauty Blender:
There are a couple of methods floating around the internet that are not a good idea.
Don’t Microwave It:
Please don’t microwave your beauty sponge. This method comes from the old trick that microwaving your kitchen sponge disinfects it. While it will kill some of the bacteria strains, it does not kill them all, and can also damage the integrity of your sponge.
When in doubt, don’t do it.
Don’t Use a Makeup Brush Scrubber:
If you’re going to scrub your blender, don’t use a highly abrasive scrubber, such as a silicone cleaning mat for your brushes. Theses are designed to get deep into the thick hair used for makeup brushes.
Your sponge will not be able to withstand this level of scrubbing without it damaging the surface of the sponge. Since it is the design of the surface that helps your makeup sink in so flawlessly, you’ll want to make sure that however you clean it doesn’t compromise it’s effectiveness.
*****
Wow, now you are a total Beauty Blender cleaning pro!
Never again will you toss a perfectly good blender out of fear you can’t get it clean.
So, go forth, clean your blenders, and get the most out of your investment.
And, if you want to save some money on your sponges, check out my post on incredible Beauty Blender Dupes!
Or, if you’re looking to clean traditional makeup brushes, check out this post!
Do you have a tip on how to best clean your blenders? Leave it in the comments below!
Have a fabulous day,
E


