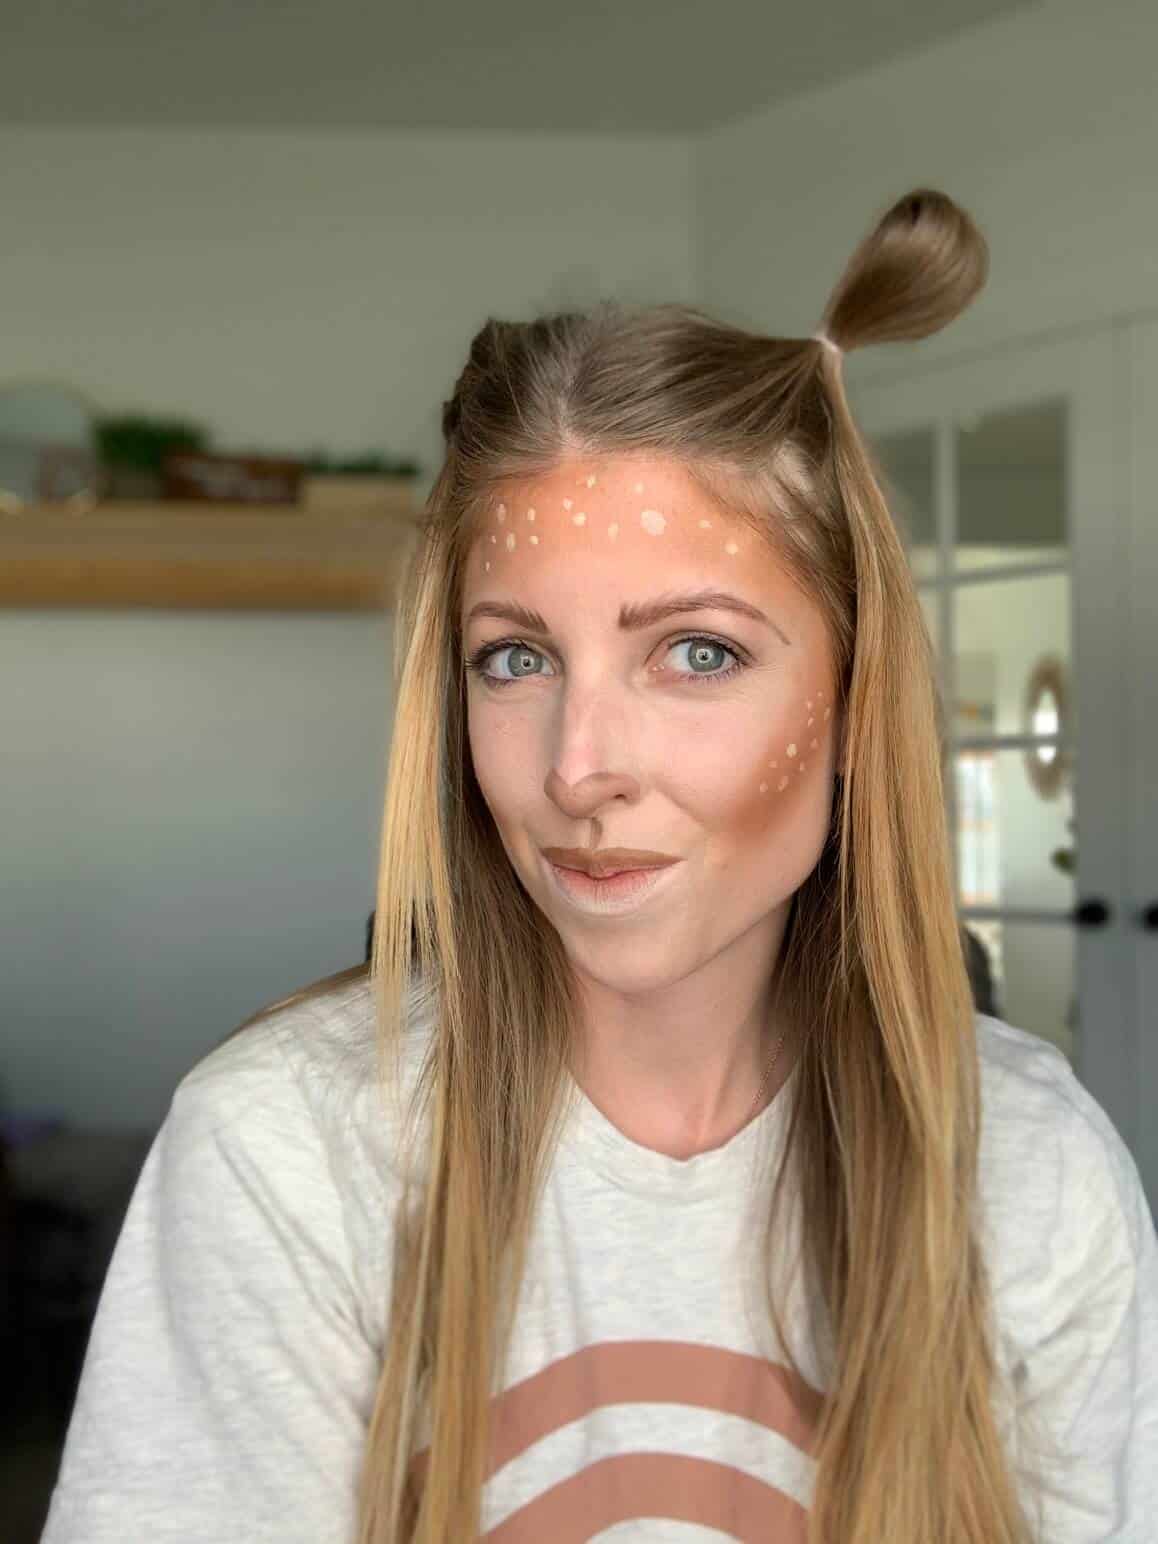
Last Halloween, I remember seeing all of these super cute makeup looks using real makeup. The deer, in particular, was so a-doe-able (sorry, I can’t help myself). So, I asked my friend, Annie, if she would break it down for us into steps, including what makeup she used, too, so that we could all recreate this look ourselves.
What a sweet Halloween costume idea – and one that would be great for a mommy and me combo, too! Finish the look with a pair of antlers, or create them out of hair, and a brown/beige outfit and you’re good to go.
What You Need for This Deer Makeup Look:

Something I love about all of Annie’s costume makeup tutorials is that they use real makeup, not the cheap costume makeup that will mess up your skin and cost you a small fortune for one day of use.
Nope, you’ll be able to create this look using makeup that you can repurpose into every day use. Plus, having used this brand of makeup myself, I can attest to its incredible quality. The eyeshadows are highly pigmented and the foundation easily blends for a natural, but better, look.
I’ll sharing all of the sources for what Annie uses to create this look below. Full disclosure, Annie is a rep for the makeup now, because she loves it so much. So, if you wanted to chat with her about color matching for your skin, she can help you pick out the perfect colors, too, or you can just grab the exact colors she uses to create this cute deer makeup look. Either way, check out her Instagram, where she shares tons of makeup hacks and tricks, and you can DM her there if you’d like help picking out the right colors for your skin.
Here’s the makeup she’ll be using in this tutorial:
- All over foundation Moonlit
- Bronzer
- Nose and top lip – Ash Contour
- White spots- Moonlit
- Brows – Trust
- Multitasker Brush
- Line Brush
Deer Makeup Tutorial:
To create this deer makeup look, Annie used her all-in-one palette, where she has everything she uses in one convenient customizable place. I have a double-decker palette and I love how you just move the little magnetized tiles in and out as you need.
Step 1: Start with Foundation

Step 2: Add Bronzer

Step 4: Add Highlighter

Step 5: Add Dots


Step 6: Detail Nose & Lips


Step 7: Upper Lip

Step 8: Deer Lips

Step 9: Do Your Brows

Step 10: Lash Time

Step 11: Finishing Touches

